Building a 6x4 shed can be a rewarding project that provides you with additional storage space in your backyard. Here's a step-by-step tutorial to guide you through the process:
Materials you'll need:
- Pressure-treated 2x4 lumber for the frame and floor joists
- Pressure-treated plywood for the floor
- 4x4 lumber for the corner posts
- 2x4 lumber for the wall framing and roof trusses
- Exterior-grade plywood for the walls and roof
- Roofing shingles or metal roofing panels
- Galvanized nails and screws
- Hinges and a latch for the door
- Concrete blocks or deck piers for the foundation
- Gravel (optional but recommended for better drainage)
Tools you'll need:
- Circular saw or miter saw
- Hammer
- Screwdriver
- Level
- Measuring tape
- Carpenter's square
- Shovel (for digging foundation holes)
- Ladder
- Safety gear (gloves, safety glasses, etc.)
Step 1: Choose a location Select a suitable and level area in your backyard for the shed. Check with your local building codes to ensure you comply with any necessary regulations regarding placement and size limitations.
Step 2: Prepare the foundation If your soil is relatively stable, you can use concrete blocks or deck piers as a simple foundation. Dig holes for the blocks or piers at the corners and midpoints along the long sides of the shed. Place them level and add gravel for better drainage.
Step 3: Build the floor Cut the pressure-treated 2x4 lumber to create a frame that matches the dimensions of your shed (6x4 feet). Space the floor joists approximately 16 inches apart within the frame. Attach the joists to the frame using screws or nails. Once the frame is complete, cover it with pressure-treated plywood and secure it to the frame.
Step 4: Assemble the walls Cut the 2x4 lumber to the desired height of your walls, considering the desired roof pitch. Typically, a shed wall height is around 7 feet. Cut the exterior-grade plywood to the proper dimensions (6 feet wide and 4 feet high). Assemble the wall frames on a flat surface and then attach the plywood to the frames using nails or screws.
Step 5: Install the walls Have a friend help you lift and position the walls onto the floor. Use a level to ensure the walls are plumb (vertical) and square. Nail or screw the walls to the floor and to each other at the corners.
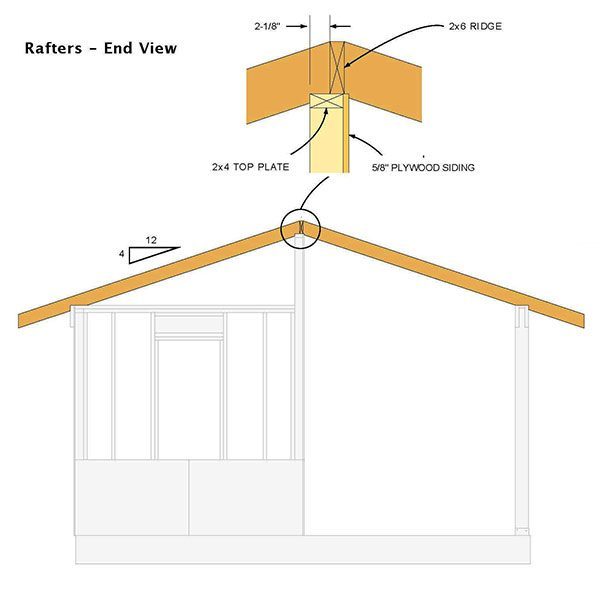
Step 6: Add the roof trusses Cut 2x4 lumber to create the roof trusses. The trusses should have a peak in the middle and a slope on each side to form the roof pitch. Space the trusses approximately 16 inches apart and secure them to the top plates of the walls using nails or screws.
Step 7: Install the roof Cover the trusses with exterior-grade plywood, leaving an overhang on all sides. This overhang will protect the walls from rain and provide shade. Install the roofing material of your choice, such as roofing shingles or metal panels, following the manufacturer's instructions.
Step 8: Build and hang the door Construct the door using 2x4 lumber for the frame and plywood for the door panel. Attach hinges to the door frame and hang the door on the shed. Install a latch or lock to secure the door when closed.
Step 9: Finishing touches Inspect the shed for any protruding nails or screws and make sure all joints are secure. Consider applying a weatherproof finish or paint to protect the wood from the elements.
Remember to check with your local authorities to see if you need any permits for building a shed in your area. Safety is paramount, so wear appropriate safety gear and follow proper construction practices throughout the project. Enjoy your new 6x4 shed!


